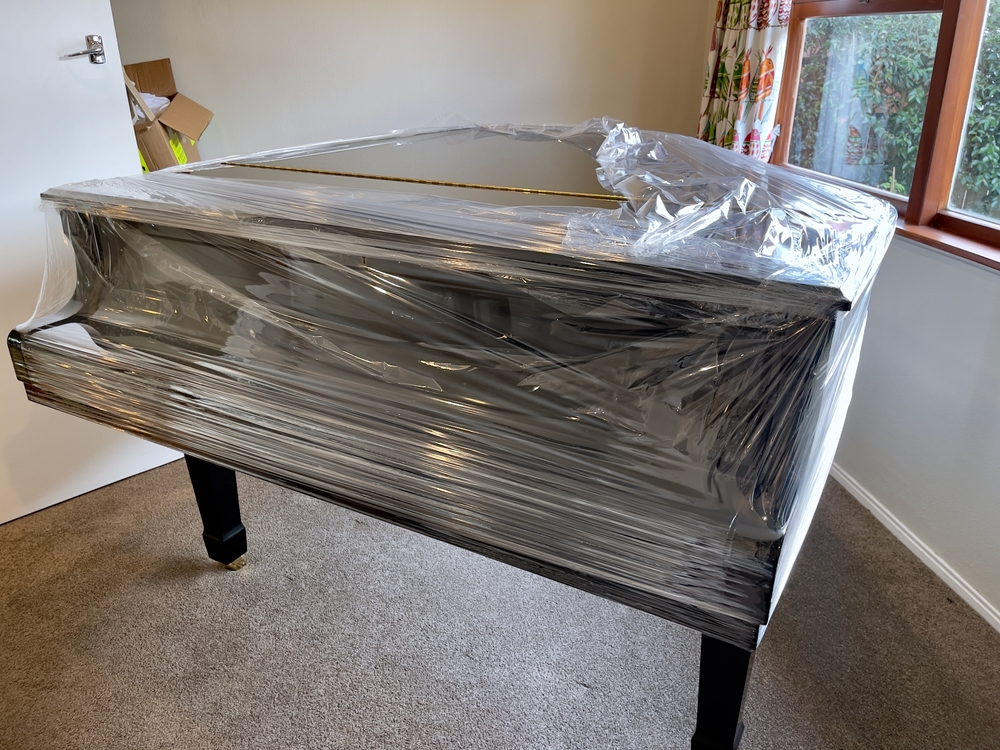
Piano moving can be an overwhelming task, especially if it’s your first time. Pianos are expensive, fragile, and heavy musical instruments that require careful handling during transportation. Whether you’re moving from one home to another or relocating your piano to another place for a concert, you need a piano moving checklist to make sure everything goes smoothly. In this blog post, we’ll discuss the piano moving checklist to ensure a safe move.

1. Plan Ahead
The first thing you need to do is plan ahead. It’s important to have a solid plan in place before you attempt to move the piano. Decide on the date of your move and the time when you’re going to move the piano. If possible, avoid moving your piano during peak hours or rush hours. Also, have a timeline and a clear idea of how much time you’ll spend on each step.
2. Get the Right Equipment
Piano moving will require special equipment, such as a piano dolly, straps, blankets, and dollies. The type of equipment you’ll need will depend on your piano’s size and weight. For instance, if you have a grand piano, you’ll need a grand piano dolly with pneumatic wheels. It’s crucial to get the right equipment to avoid accidents or damage to your piano.
3. Hire a Professional Piano Mover
Moving a piano is not a DIY task. It’s recommended that you hire a professional piano mover to assist you with the move. Professional piano movers have the experience, knowledge, and expertise to handle any piano move, no matter the size or weight. They have the right equipment and the right team to ensure a safe and efficient move.
4. Check the Piano’s Condition
Before you move your piano, make sure you check its condition and perform piano maintenance . Examine the piano’s keys, pedals, and legs. Ensure that they are all in good condition and aren’t loose or wobbly. Also, check for any scratches, dents, or cracks on the piano’s body. If your piano is in poor condition, inform your piano mover about it.
5. Secure the Piano
Once you’ve inspected your piano’s condition, it’s time to secure it for the move. Use heavy-duty straps to secure the piano to the dolly to prevent it from moving or tipping over. Cover the piano with blankets to protect it from scratches and dings during transportation. You can also use cardboard to further protect the piano’s corners.
6. Prepare the Piano Movers
Before the piano moving company arrives, make sure you’ve briefed them on your piano’s condition, the type of equipment you have, and where the piano is located. Inform them of any obstacles they may face during the move, such as stairs or tight spaces. If there are any special instructions or requests, make sure you communicate them.
7. Move the Piano
The piano movers will use the equipment to move your piano to the truck or van. They’ll use ramps or lift gates to load the piano onto the vehicle. Make sure you supervise the loading process to ensure everything goes as planned. Also, make sure that the piano is secured properly to avoid damage during transportation.
8. Unload the Piano
Once you arrive at your destination, the piano movers will unload the piano from the vehicle. Ensure that the piano is wheeled into the correct room and positioned on level ground. Verify that the piano is secured to its new location before the movers leave.
Piano moving can be stressful, but having a piano moving checklist can make the process easier. It’s important to plan, get the right equipment, hire professional piano movers, check your piano’s condition, secure the piano, prepare the piano movers, move the piano, and unload the piano. Following these steps will help ensure a safe and efficient move for your piano. Remember, pianos are delicate instruments that require careful handling, so make sure you take extra precautions during the move.


